> For the complete documentation index, see [llms.txt](https://support.senterasensors.com/home/llms.txt). Markdown versions of documentation pages are available by appending `.md` to page URLs; this page is available as [Markdown](https://support.senterasensors.com/home/dji-settings/dji-settings/mavic-3e-and-mavic-3m-image-capture-settings-for-spot-scout-and-mosaics.md).
# Mavic 3E & Mavic 3M Image Capture Settings for Spot Scout & Mosaics
The DJI Mavic 3 Enterprise ships with default settings that need to be changed before capturing data. Some settings vary by type of mission and will need to be adjusted between flights.
\
**Settings for all Missions**
Setting
Value
Mechanical Shutter
Enabled
Image Ratio
4:3
Image Format
Jpeg
**Dewarping setting for Spot Scout and mosaic missions.**
| Mission Type | Dewarp |
| ------------ | ------------------ |
| Mosaic | Disabled |
| Spot Scout |
Enabled
|
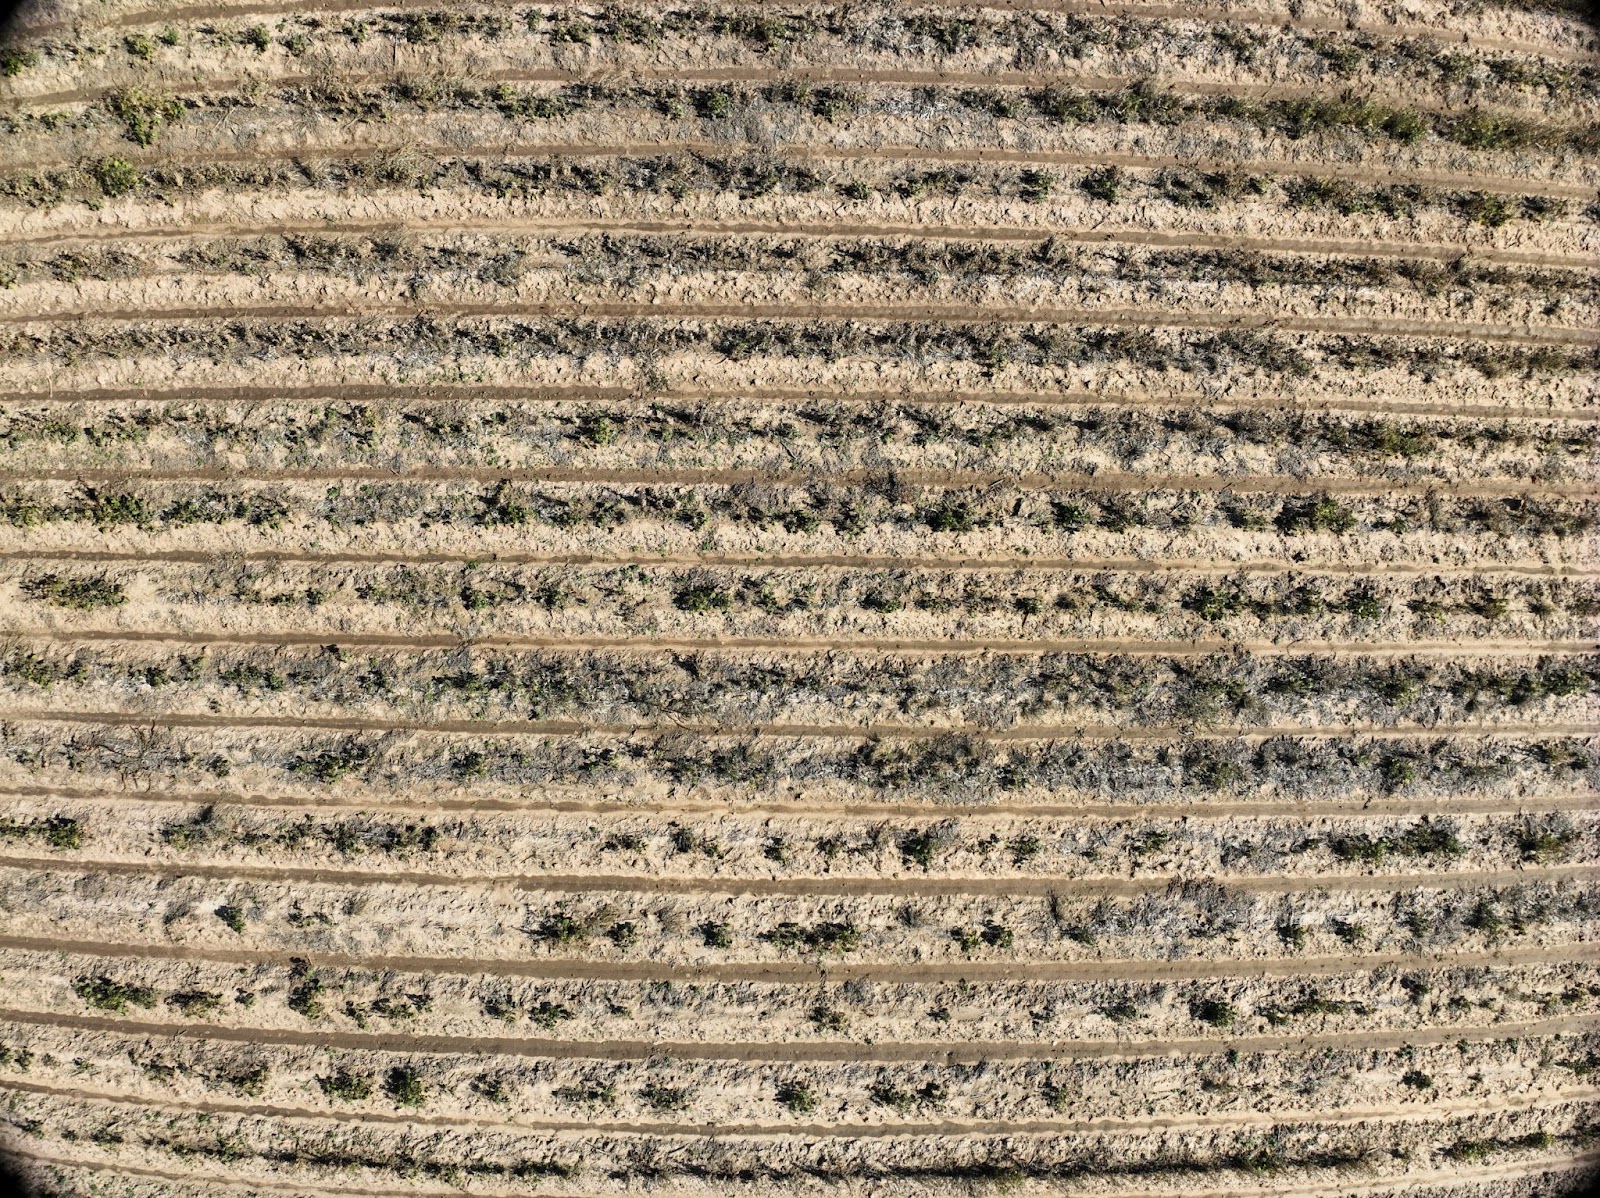
The process of creating an orthomosaic is able to account for warped images, while Spot Scout maps will simply display the warped images. Below are two images from the same field, with dewarping toggled off and on.
| | |
| ---------------------------------------------------------------------------------------------------------------------------------------- | --------------------------------------------------------------------------------------------------------------------------------------------------------------------------------------------------------------------------------- |
| Dewarping Disabled | Dewarping Enabled |
### To view and change settings:
1. Power on your drone and remote controller.
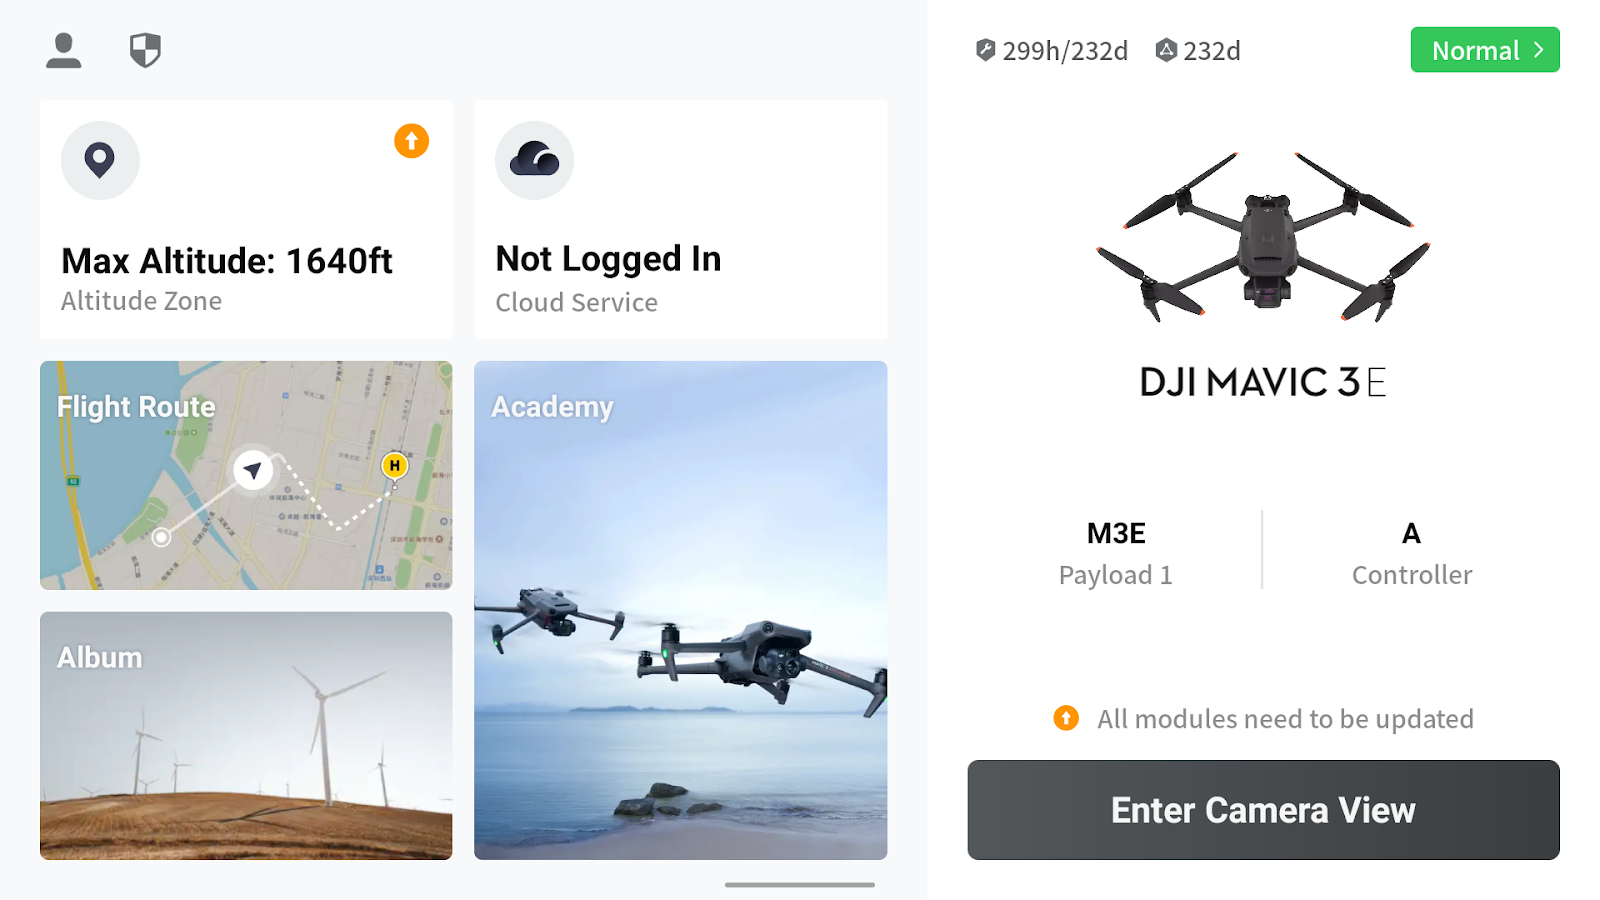
2. Enter the Camera View.
3. The settings bar is located at the top right of the screen. Click the settings icon on the far right side to access the camera menu.
4. The first tab, indicated by the camera icon, contains the image ratio and format settings.
a. **Image Ratio:** This is set to 4:3 by default, meaning that the sensor will capture uncropped images. Different ratios will not utilize the full sensor. **Leave the ratio on 4:3.**
b.  **Image Format:** This is set to RAW by default. **Change the image format to JPG.** The JPG file format is required to process and analyze the images you capture.
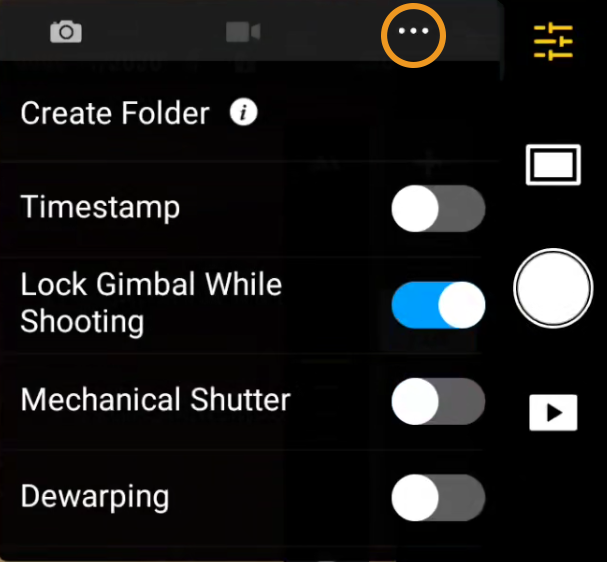
5. Click the three dots at the top of the menu to switch tabs and access more camera settings.
a.  **Mechanical Shutter:** This is turned off by default. **Make sure you toggle ON the mechanical shutter**, this helps to prevent image distortion.
b.  **Dewarping:** This is turned off by default. Depending on your mission type you will need to change this setting. **Spot Scout missions require Dewarping to be enabled. Orthomosaic missions require Dewarping to be Disabled.**
### Mavic 3 Multispectral additional image settings
When using a Mavic 3 Multispectral, make sure that the microSD card is saving the multispectral images with the RGB images to the microSD card by clicking on the microSD card logo up on the top right. then checking multispectral to allow the images to be written to the microSD card. In addition, in order to tell when it is selected, both the lettering for RGB and MS is white text and not transparent.
In addition, before flying make sure the video is set to MS (multispectral) by clicking on the MS or VI (Visual Light) icon on the top left, see image. This will give you a split screen of the visual and the multispectral view from the stock sensor with the RGB view as the drone is flying. In addition, you can set it to VI if you only want to see the visual aspect and not the multispectral side.
---
# Agent Instructions
This documentation is published with GitBook. GitBook is the documentation platform designed so that both humans and AI agents can read, navigate, and reason over technical content effectively. Learn more at gitbook.com.
## Querying This Documentation
If you need additional information that is not directly available in this page, you can query the documentation dynamically by asking a question.
Perform an HTTP GET request on the current page URL with the `ask` query parameter, and the optional `goal` query parameter:
```
GET https://support.senterasensors.com/home/dji-settings/dji-settings/mavic-3e-and-mavic-3m-image-capture-settings-for-spot-scout-and-mosaics.md?ask=&goal=
```
`ask` is the immediate question: it should be specific, self-contained, and written in natural language.
`goal` is optional and describes the broader end goal you are ultimately trying to accomplish on behalf of the user. GitBook uses it to tailor the answer towards what is most useful for that goal.
The response will contain a direct answer to the question and relevant excerpts and sources from the documentation.
Use this mechanism when the answer is not explicitly present in the current page, you need clarification or additional context, or you want to retrieve related documentation sections.
 |
|  |
| ---------------------------------------------------------------------------------------------------------------------------------------- | --------------------------------------------------------------------------------------------------------------------------------------------------------------------------------------------------------------------------------- |
| Dewarping Disabled | Dewarping Enabled |
### To view and change settings:
1. Power on your drone and remote controller.
|
| ---------------------------------------------------------------------------------------------------------------------------------------- | --------------------------------------------------------------------------------------------------------------------------------------------------------------------------------------------------------------------------------- |
| Dewarping Disabled | Dewarping Enabled |
### To view and change settings:
1. Power on your drone and remote controller.
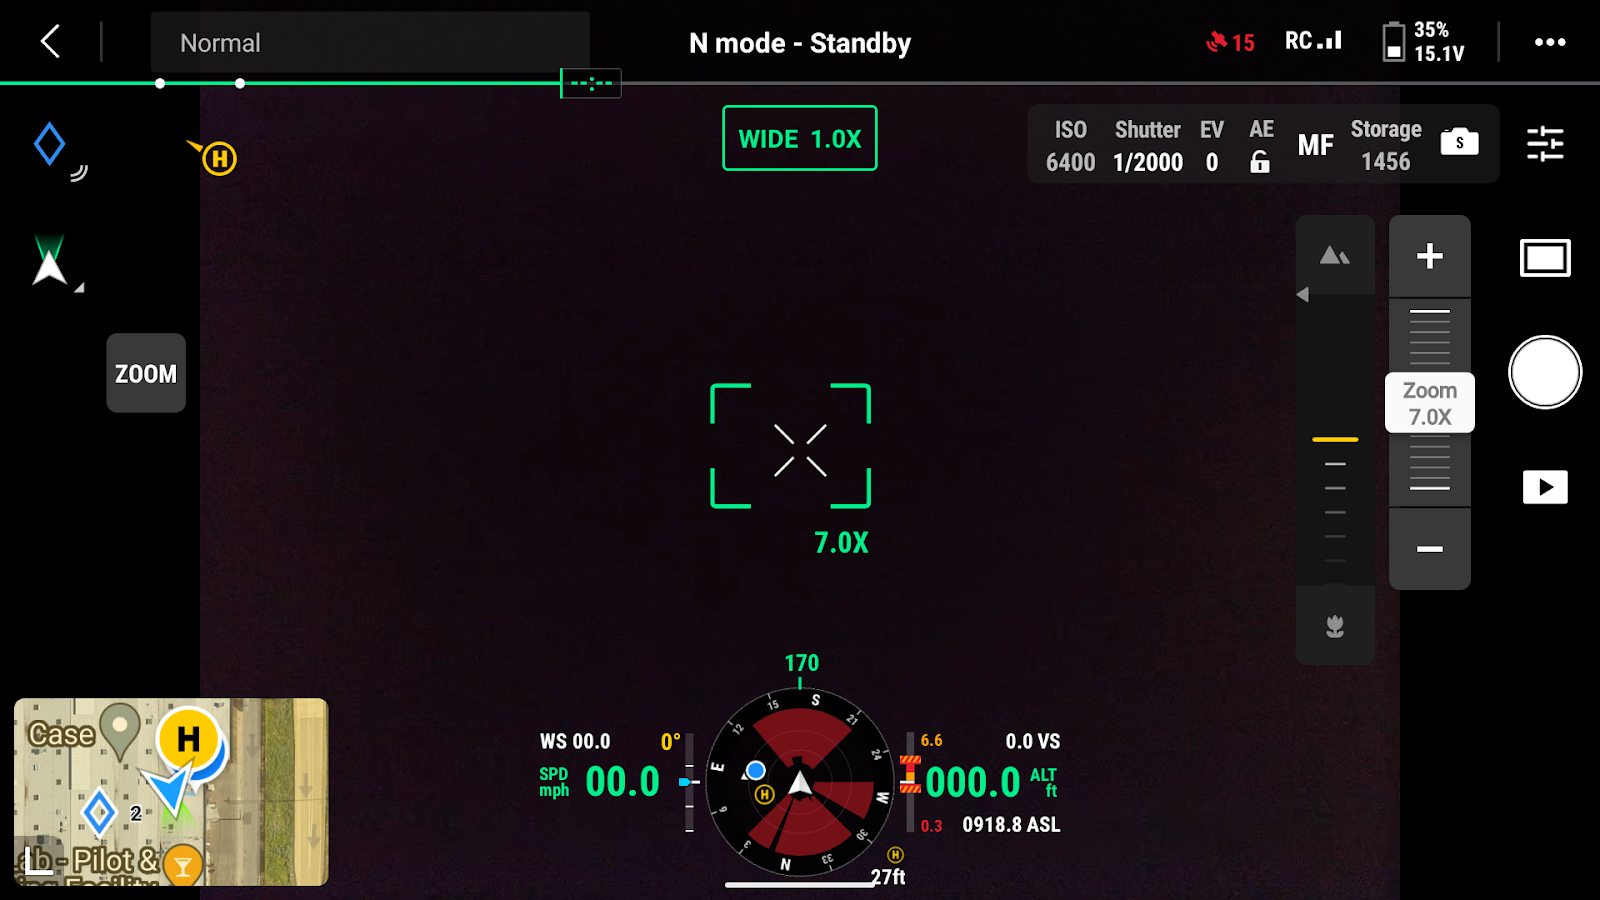

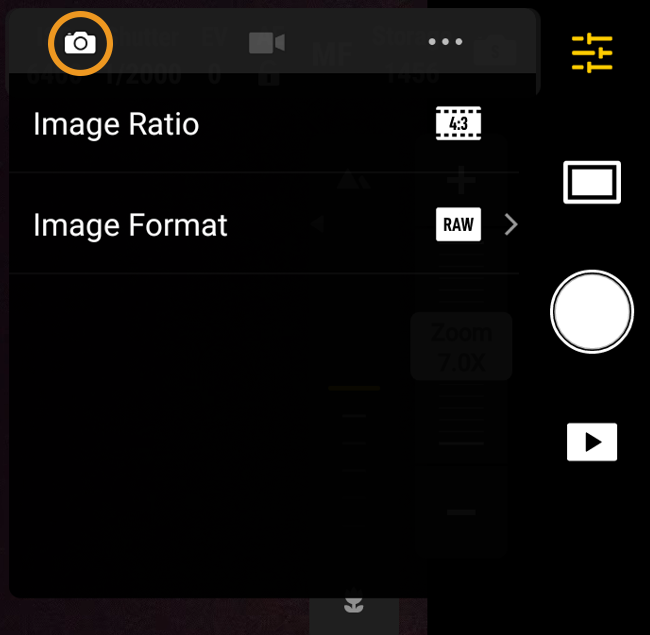
 **Image Ratio:** This is set to 4:3 by default, meaning that the sensor will capture uncropped images. Different ratios will not utilize the full sensor. **Leave the ratio on 4:3.**
b.  **Image Format:** This is set to RAW by default. **Change the image format to JPG.** The JPG file format is required to process and analyze the images you capture.
5. Click the three dots at the top of the menu to switch tabs and access more camera settings.
**Image Ratio:** This is set to 4:3 by default, meaning that the sensor will capture uncropped images. Different ratios will not utilize the full sensor. **Leave the ratio on 4:3.**
b.  **Image Format:** This is set to RAW by default. **Change the image format to JPG.** The JPG file format is required to process and analyze the images you capture.
5. Click the three dots at the top of the menu to switch tabs and access more camera settings.