Double 4K - Updating Firmware
Follow the instructions below for downloading and installing the firmware update for your Double 4K/AGX710 Sensor.
LED CODES: Solid Red - Sensor is booting, do not take-off Solid Green - Ready for flight Blinking Red - Error
Identify Serial Number (S/N)
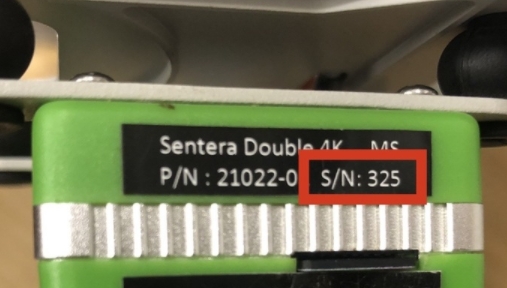
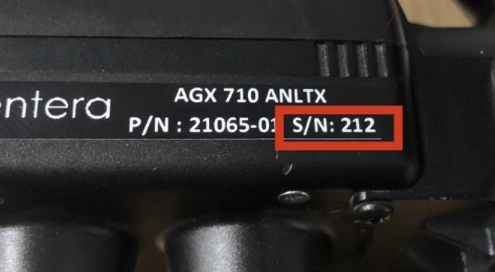
First, identify your product's serial number. The serial number is located on the sticker attached to the top or side of the sensor. See the images below for reference.


Download the Update
Select the appropriate firmware update below based on your serial number.
![]() Note: Attempts to install the firmware on an incompatible product will fail, resulting in no changes to the performance or configuration of the device.
Note: Attempts to install the firmware on an incompatible product will fail, resulting in no changes to the performance or configuration of the device.
Serial numbers 199 or lower. This download is ONLY compatible with a Double 4K/AGX710 with a serial number 199 or lower: Double 4K Firmware v1.5.2
Serial numbers 200 or higher. This download is ONLY compatible with a Double 4K/AGX710 with a serial number 200 or higher. Double 4K Firmware v1.5.2
Install the Update
After downloading the firmware update file:
Remove the SD card from the Double 4K sensor and insert into a computer.
![]() WARNING: If you are using a new SD Card, ensure the card is formatted to FAT32. FAQ: How to update to FAT32
WARNING: If you are using a new SD Card, ensure the card is formatted to FAT32. FAQ: How to update to FAT32
Copy the snapcam-ota-1.5.2.zip file for sensor 199 and under, and msM8996_sc-ota-1.5.2.zip file for serial numbers 200 and above, to the Firmware Folder on the SD card. (DO NOT unzip the file; copy the entire zip file to the folder.)
Insert the SD card into the sensor.
Power on the system.
Wait 15 minutes for the update to complete. The Double 4K will automatically reboot a few times and the LED will blink a variety of colors. This is normal.
Power off the system.
Remove the SD card from the sensor.
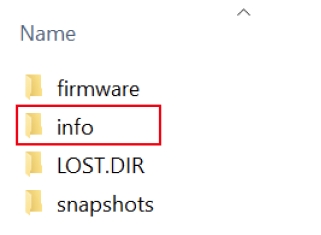
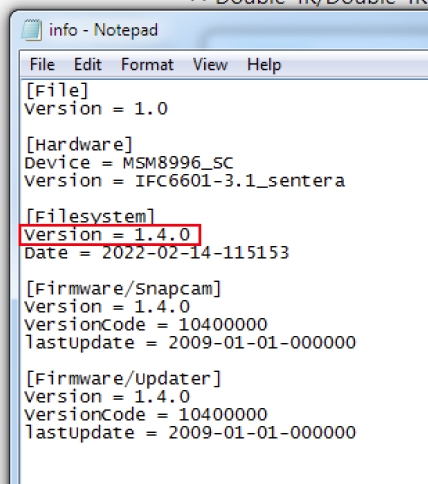
View the /info/info.txt file on the SD Card.

Verify that the Filesystem Version is the expected new version to confirm that the update was successfully applied. Example below:

Insert the SD card into the sensor. The update is complete.
